The Legacy of Hedwig Paul
The story of these special sugar cookies begins in the small town of New Bremen, Ohio, around the 1930s-1940s. Originating from Hedwig Paul, this recipe has journeyed through generations. Passed from Hedwig to her nephew Dale and wife Pat, it eventually made its way to their children, and then to me, their grandson.
This recipe isn’t just a list of ingredients and instructions; it’s a cherished part of our family history, a tangible connection to our past, and a delicious legacy that I’m proud to share with you.
Crafting the Cookies
Ingredients
Here is the original recipe card that I was given, this one is in my Grandma Pat’s handwriting.

In case you can’t read her cursive, I’ll type them out
- ———– Wet ———-
- 2 cups Sugar (400 grams)
- 3/4 cup lard (156 grams)
- 1/4 cup margarine (56 grams)
- 2 eggs
- 1 cup sour milk (ie buttermilk) (245 grams)
- 2 tsp vanilla
- ———– Dry ———-
- 2 tsp baking soda
- 2 tsp baking powder
- dash of salt (i got with about 1/4 – 1/2 tsp)
- 4 cups flour (~500 grams)
Process
Start with the wet ingredients in your stand mixer.
Creaming the sugar with the fats

The process begins with the foundational step of any classic cookie: creaming the sugar with lard and margarine. YES! Lard, trust me, don’t swap this out! This crucial stage sets the foundation for the light and fluffy texture that makes these cookies distinct. Don’t be afraid to turn the KitchenAid up to 10, start slow of course but work your way to high speed. This step will take a couple of minutes.
It should almost look like icing when you’re ready for the next step.
Add the Eggs and Vanillia
Next, one at a time add the eggs, and beat them in until combined. The mixture will start to turn a bit yellow. Then add the Vanillia.
Buttermilk
The last of the wet ingredients is buttermilk. Mix this in until it looks like the picture below, mostly combined, but not overmixed.

Combine the Dry ingredients
In a separate bowl, we will combine and whisk the dry ingredients. Make sure to whisk them together so that the baking powder, baking soda, and salt are equally distributed in the flour.
Add Dry to Wet
Next, with the stand mixer on low, we slowly add the dry ingredients to the wet ingredients. Mix until just combined.
Dropping or Shaping?
There are two ways to proceed: 1. You can simply drop large spoonfuls of the dough onto a floured cookie sheet and bake, or 2. you can flour a work surface, and add another 1/2 cup of flour to the dough, then roll out the dough into a 1/2″ thick sheet and then cut out your favorite christmas shapes.
If you are going to go the shape route, the extra flour will make the cookies denser, but they are still awesome.
Bake
As the dough takes shape, the anticipation builds. The old-fashioned mix of lard and margarine, combined with the sugar, creates a base that’s rich in flavor and history.

In the warmth of the oven, these cookies don’t just bake; they bloom into golden-brown delights, embodying the warmth and love passed down through generations.
In my oven at 350* these took about 12 minutes, but I would say the safe bet is to check after about 10 minutes, and then again every 2 minutes until they are lightly golden-colored. They will change from pale to golden pretty quickly around that 12-minute mark.
Decorating and Storage
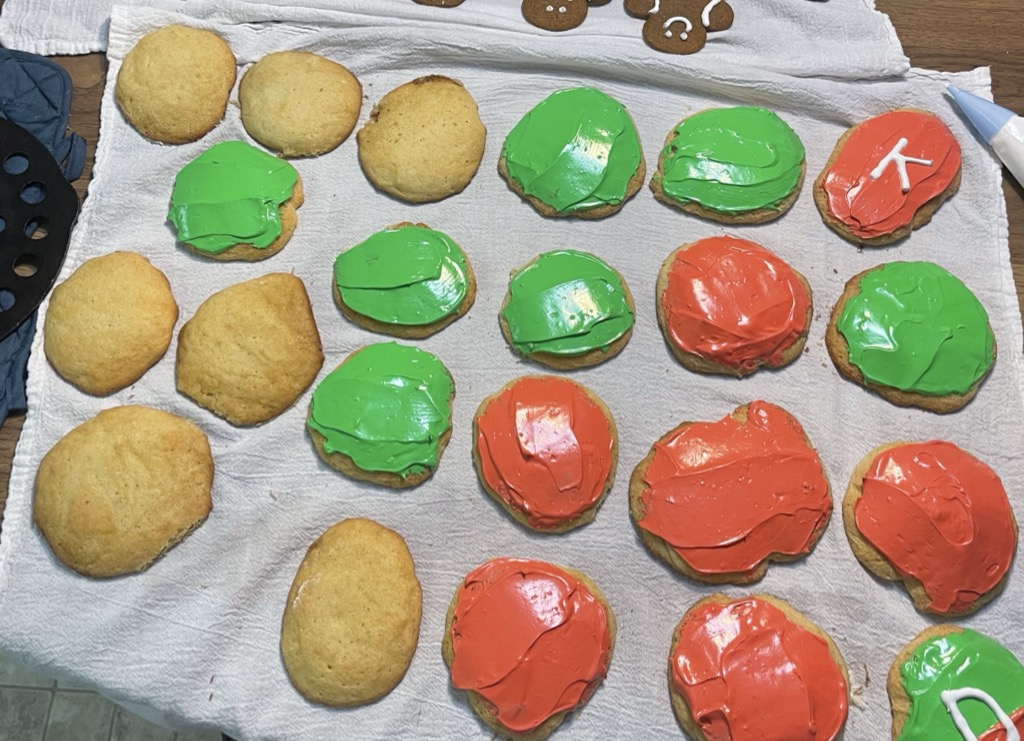
These cookies do have a dry texture like any sugar cookie, so my advice is to add icing. They work great with buttercream icing, or with royal icing, or whatever you prefer.
As for storage, these cookies will keep about a week if in a sealed container. We also like to keep ours in the garage, since it’s usually 40-50 degrees.

The Unique Texture

What sets these cookies apart is their remarkable texture – light, fluffy, and surprisingly bread-like, despite their appearance. Each bite is a soft, comforting embrace, but like most holiday treats they will stick to your ribs. They are thick too, almost 3/4 to 1 inch in height, standing tall as a testament to the tradition and care baked into each one.
More Than Just a Cookie
As I share this recipe with you, I’m not just passing on a recipe for baking cookies; I’m inviting you into a story that spans decades, a recipe that has been a silent witness to countless family gatherings, celebrations, and heartfelt moments.
Every Christmas, these sugar cookies were at the heart of a family ritual. It all took place in our grandparents’ kitchen, where my sister, cousins, and I would gather around to make the dough. Grandpa was our chief, guiding us through the process of mixing by hand in a big earthenware bowl. It was a fun, if not always perfectly precise, affair.
Grandma’s role? She was in charge of decoration. Under her supervision, we’d ice the cookies, liberally applying a festive array of sprinkles – often more than necessary. The look of each cookie was as unique as the person who decorated it.
Not every batch was a success, though. Sometimes Grandpa would mix up the measurements – too much sugar, or none, maybe doubling the baking soda or powder. These slip-ups usually meant starting from scratch, but they added a bit of humor to the whole process.
For us, these cookies were more than just a sweet treat. They were a part of our Christmas tradition, a way to come together and enjoy the holiday spirit. Each cookie, whether perfectly shaped or a bit lopsided, was a small piece of those memories.
I hope you’ll try making these sugar cookies yourself and, in doing so, become a part of their ever-growing story.

The Paul Heirloom Sugar Cookie
Ingredients
- 400 grams Sugar (or 2 cups)
- 156 grams Lard (or 3/4 cup)
- 56 grams margarine (or 1/4 cup)
- 245 grams buttermilk (or 1 cup)
- 2 Tbsp Vanillia
- 500 grams Flour (or 4 cups)
- 2 tsp baking powder
- 2 tsp baking soda
- .25 tsp salt
Instructions
- Preheat your oven to 350* F
- Cream the Fats and Sugar in a stand mixer over progressively faster speeds until the mixture is light and flufy.
- Add Eggs, one at a time, and mix until combined, also add the vanillia and buttermilk
- In a separate bowl, combine flour, salt, baking powder, and baking soda, whisk to evenly distribute all of the ingredients.
- Slowly add the dry ingredients to the wet, while the stand mixer is on low speed. Mix until just combined.
- Either drop spoonfuls of dough onto a cookie sheet and bake at 350* for 10-12 minutes until golden brown, or add another 1/2 cup of flour and then roll into a 1/2" sheet and cut cookies out using your favorite cookie cutter, then bake at 350* for 10-12 minutes.